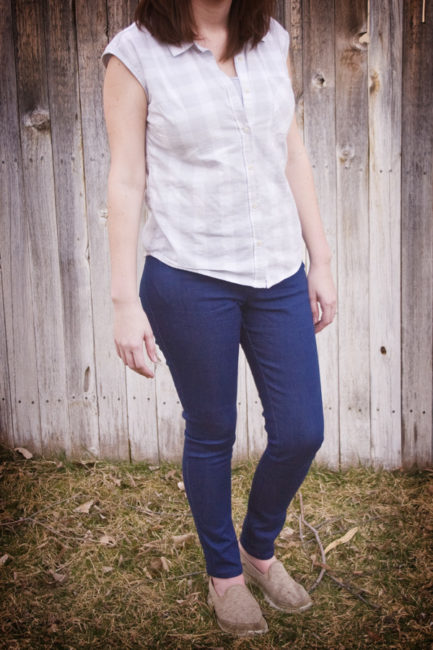
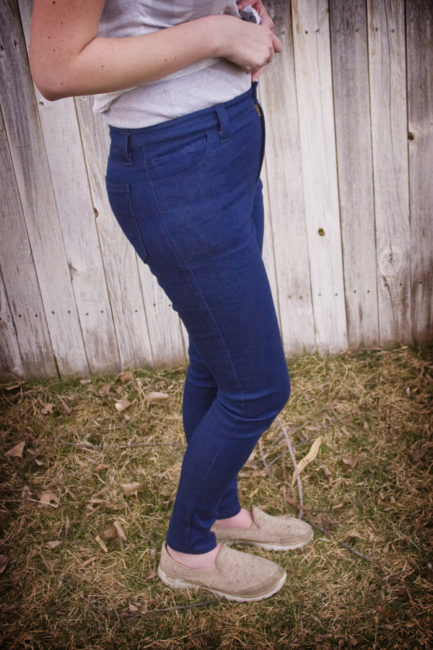
I made jeans! And they turned out pretty okay.

This was quite an involved project and if it wasn’t for the Sudoku Wardrobe I probably would have let this remain a WIP for a long while. I ended up having to seam rip a few times (which is my least favorite) and McGuyver as solution for my button, but in the end I am happy with my wearable muslin.
Pattern Review – Simplicity 8222
Pattern Description: Mimi G’s design for skinny jeans. Includes three options for the back piece to fit slim, average, and curvy.
Pattern Sizing: 6-14. I went with size 14 average.
Did it look like the photo/drawing on the pattern envelope once you were done sewing with it? Yes.
Were the instructions easy to follow? Yes. While there are a lot of steps to constructing the jeans, the instructions were very clear. I did do a few things differently (noted below) and I also didn’t interface anything, as per Angela Wolf in the Craftsy Class “Sewing Designer Jeans.”
What did you particularly like or dislike about the pattern? I was looking for a classic skinny jean and I think this pattern is a good starting point. I like also the Mimi G has a sew-along for this on you-tube with videos for each step. I did go watch the video for the fly because I was nervous about that. It actually wasn’t difficult to put together, however I will change the design of that area for my next make.
Fabric Used: Stretch denim (97% cotton/3% spandex) in a dark indigo blue color from Hancock’s, so it’s been in the stash for a while.
Pattern alterations or any design changes you made: Quite a few actually, and I’ll likely make some more in the future as well.
What I changed:
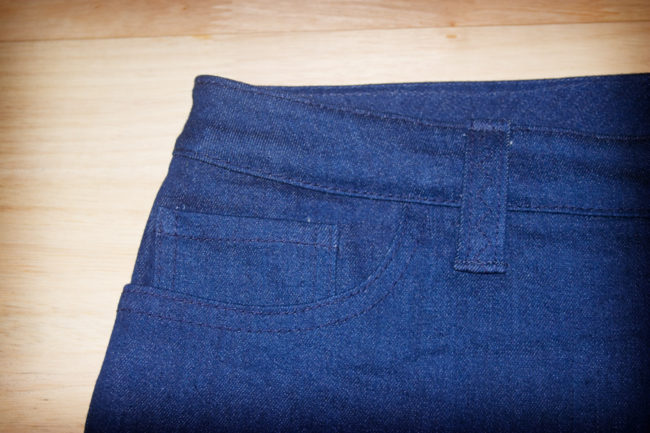
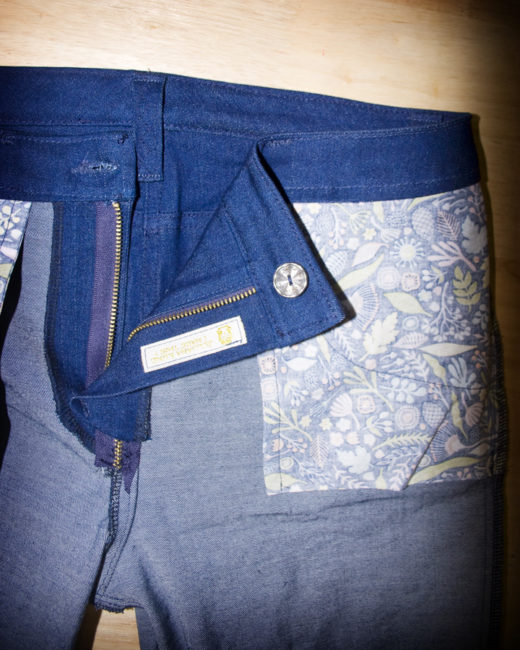
- Front Pockets: I used a one piece lining design for the pockets as instructed by Angela Wolf. This includes a french seam on the inner edge of the pocket and the entire side of the pocket is attached to the side seam. It also reduces bulk since I used a light quilting cotton for the pocket lining.
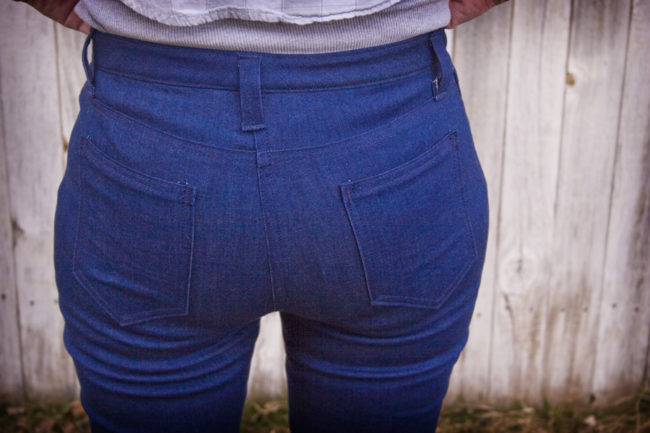
- Side seam. The side seams are the last to be sewn (before attaching the waistband) and when I tried them on, they were too loose! And this was after I had already decided to stitch with a 3/4″ seam (rather than the 5/8″) called for. I wanted it to be very fitted throughout. Also, I had about a 2″ gape at the top of the center back. I guess by booty is more curvy than I thought? Anyway, I ended up taking apart the side seam and cutting of 3/4″ from the back leg at the side seam. I also cut a bit of a triangle dart shape at the top of the back side seam (the CB was already top stitched so I just took it of the sides) taking 1/2″ at the top and grading out to 0″ at the hip.
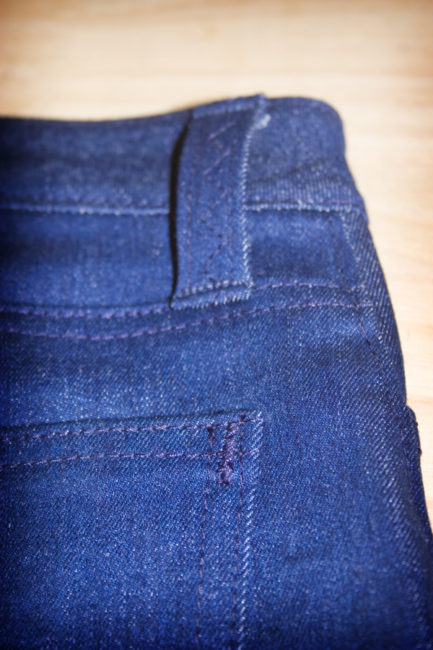
- Belt Loops: The belt loop piece was 3″ wide and the instructions said to fold it twice (4 thicknesses!). Instead I used 1 1/2″ wide and folded it in 3. I cut the strip from the selvage so I didn’t have to finish the edge…just fold and stitch.
What I will change for the next time:
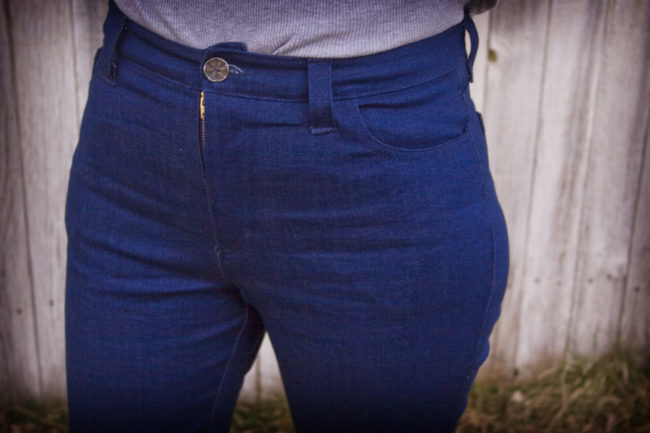
- Fly overlap: I don’t like the way the fly is designed. There is only the standard 5/8″ seam allowance on the right side so even though you scoot the zipper teeth over by 1/4″ it still peaks out … especially since these are so fitted and stretch around my body. I think I’ll add a wider seam allowance just on that part so I can tuck the zipper in a bit further.
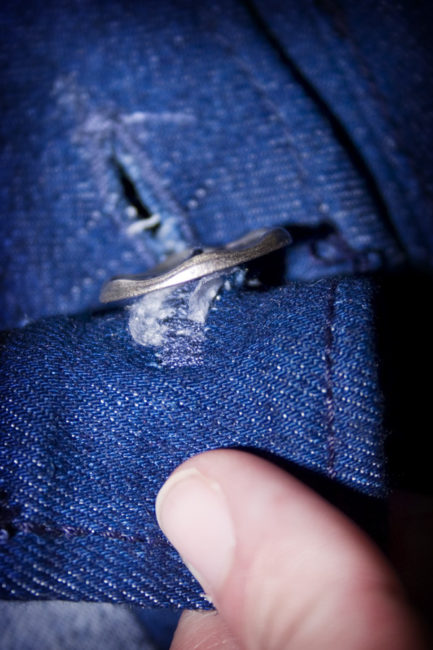
- Button troubles: This has nothing to do with the pattern and everything to do with my inability to use a hammer. I tried and failed to attach jeans buttons 3 times! in the end I tore a bit of a hole in the waist band where the tack was so I ended up doing a bit of a patch job with interfacing on the outsides and then a regular button over the top. Not the prettiest, but usable.
- Lower front waistband: I’m not sure why but on me the waistband slopes up in the front and reaches my bellybutton. On the back it is just right. I’ll have to play around with the pattern and likely lower the center front by about and inch and then grade out to meet the back at the side seam. Or, maybe I should take it out kind of like a dart being folded out only lower along the center front (mid-zipper maybe?) to maintain the shape of the waistline curve. Not sure…I’ll have to think about it. I think if the waistband cuts across my mommy tummy it will help keep it a bit tighter there…plus be a bit more to my preference.
Would you sew it again? Would you recommend it to others? I plan to sew it again in white denim making the changes listed above as well as making it more of a cropped pant. I’ll have to compare the changes I already made to the shaping at the side seams and decide if I need to go down a size. I’ll also have to be sure to compare the stretch in the denims to see if maybe I don’t have to tighten it as much. I do recommend it (with the slight note above for the fly) but it is an involved process to construct so keep that in mind.
Conclusion: Okay final product with great potential (with a few tweaks) to be a perfect jeans pattern.
White Skinny Jeans (S8222 … again) –
[…] previous pair of jeans (really my first ever!) turned out pretty great except for a few minor fit issues and the front […]
31 . Mar . 2017