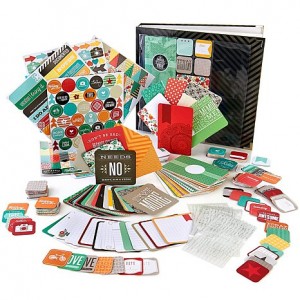
For Christmas I received a Project Life kit. This one to be exact:
Project Life is a pocket page scrapbooking system where you just insert the pictures into the pockets and add other cards, text, etc. to make it your own. There are lots of different ways to do it, and you can find out more on Becky Higgin’s website. I decided to go hybrid.
Basically, that means that some of it will be digital and some of it will be paper. Then it will all come together in one binder.
I wanted to get started right away but all I had were the kit papers to fill in spaces. And, I couldn’t really do that until I had figured out which pictures I was using.
I spent a few hours over the weekend getting it all sorted out, and actually finished all the planning for the 2013 pages! I’ve got the photos on order from Costco and will pick them up later today but thought I’d share what I’d done so far.
First, I bought more supplies!
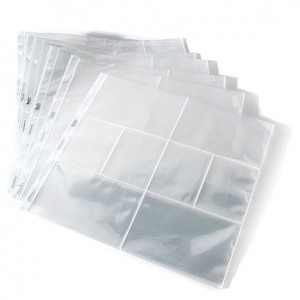
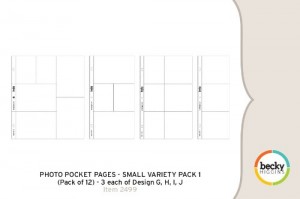
I decided I needed some additional variety in the sheet protectors so I ordered some variety packs from HSN.com and from Scrapbook.com.
Then, I decided which pictures to use:
I created a “Project Life” folder and within that folder created a “PL2013” folder. This is where I copied all the pictures I wanted to use for 2013. I sorted them by date so it was chronological from Jan-Dec. That’s when the real planning began.
Since I have all different types of sheet protectors with different size pockets I had to decide what size I wanted the pictures before ordering them.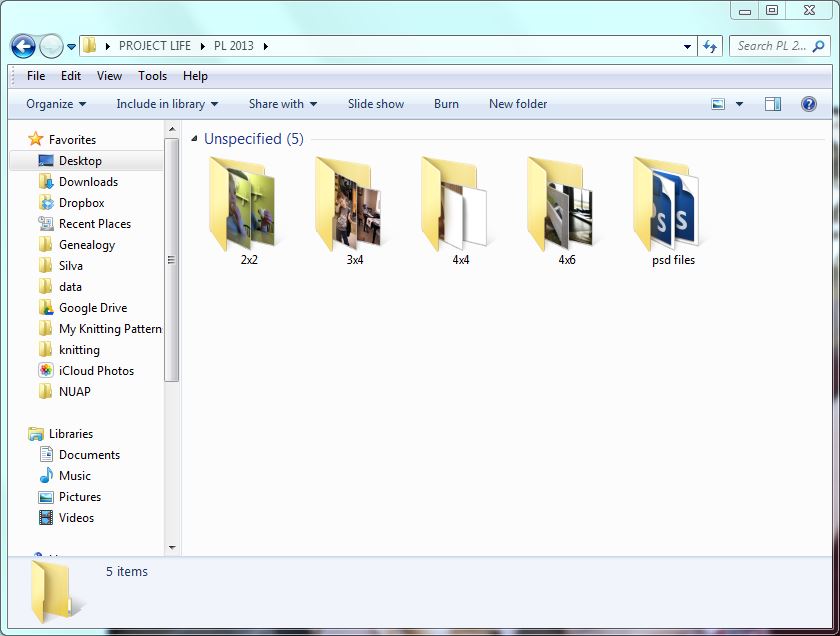
Here’s what my folders look like now – 2×2, 3×4, 4×4, 4×6, psd files. Prior to getting all the photos sorted they were all hanging out together next to these folders. But, not only did I need them sorted by date, I also wanted to group them by what page they belonged on. I discovered an awesome way to do that!
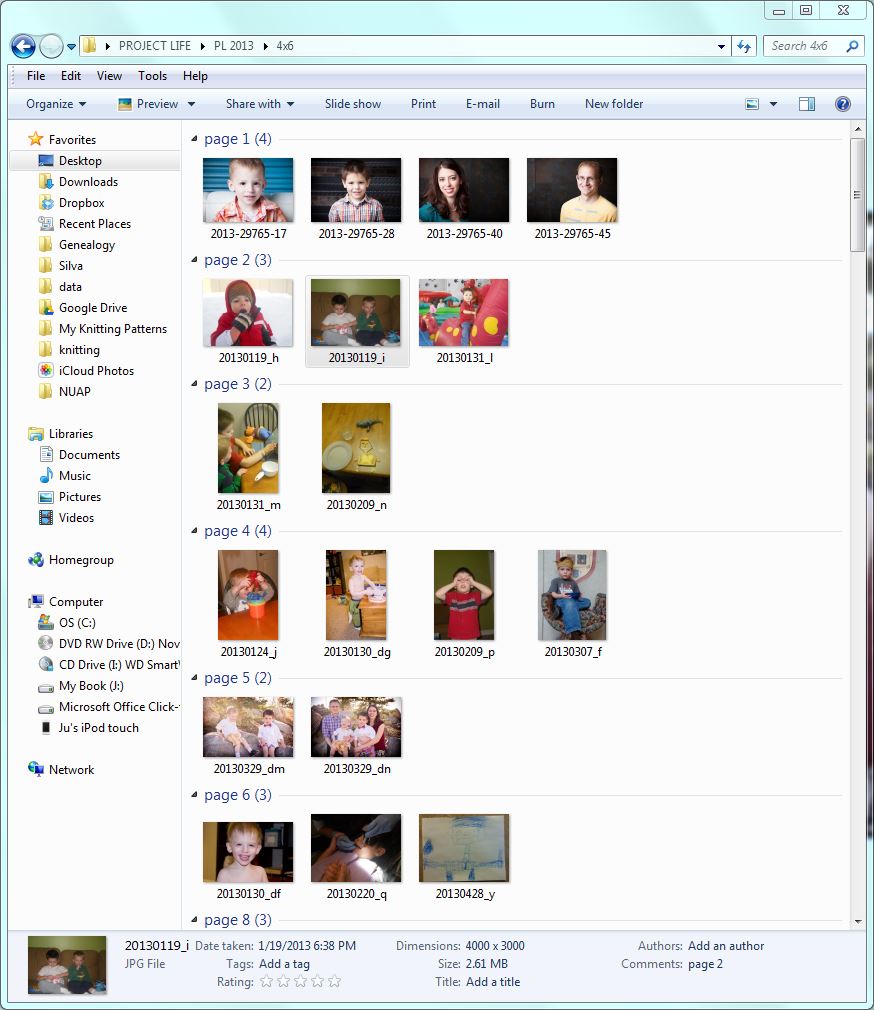
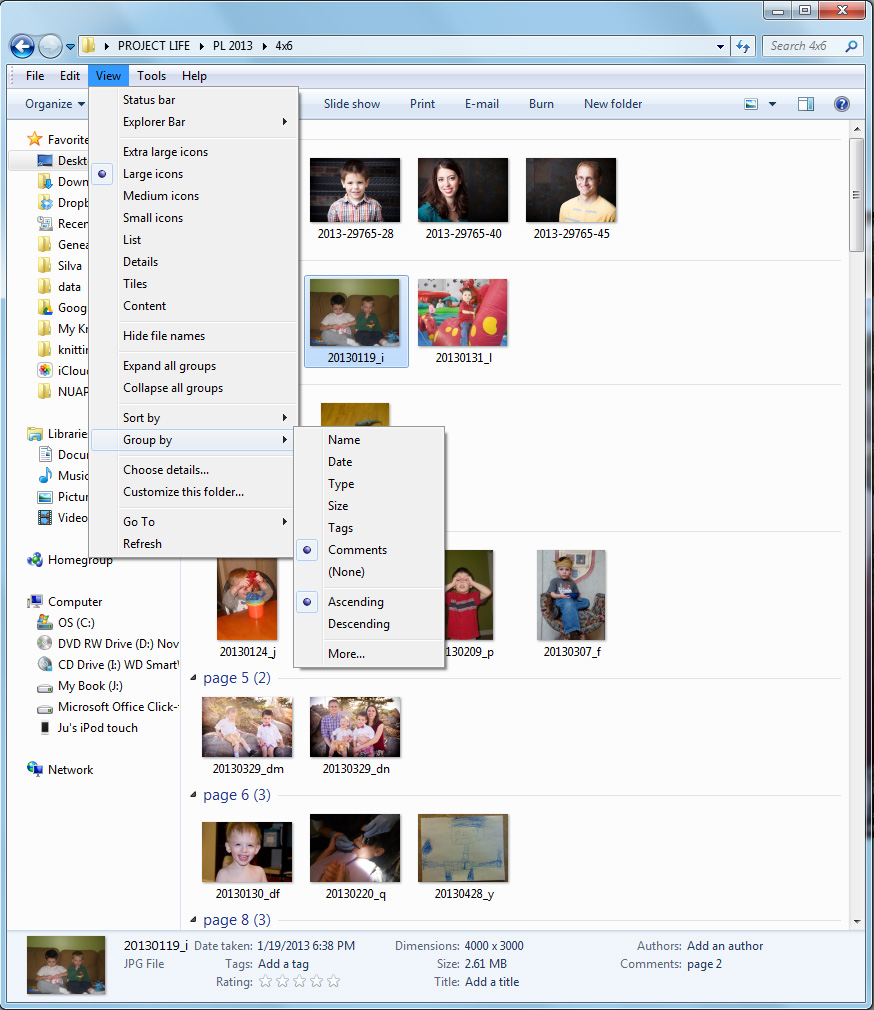
This is a look inside my 4×6 folder. See how they are separated out by page – page 1, page 2, etc. Awesome right! I just added a note to the comments section (see at the bottom of the window) and then went to View>Sort>Group by…>Comments. This way I could decide what page each picture would go on and then know that I had already assigned that picture a spot!
And, I kept track on a hard copy
I used sticky notes to label which picture went in which pocket. That made it easy to move things around if I needed. So I’d just look on the computer file, decide which picture went where, label it and then move it into the correct “to print” folder by size.
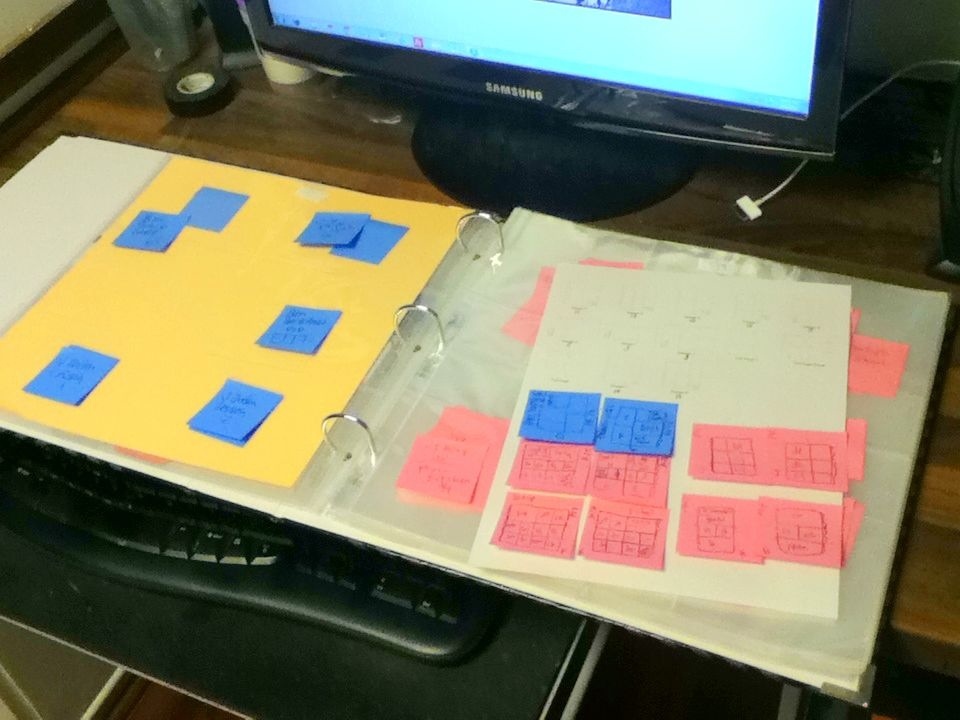
Since I ordered some additional pocket pages and won’t have them for a few days, I planned out a few pages on separate sticky notes so I would know where the pictures would go.
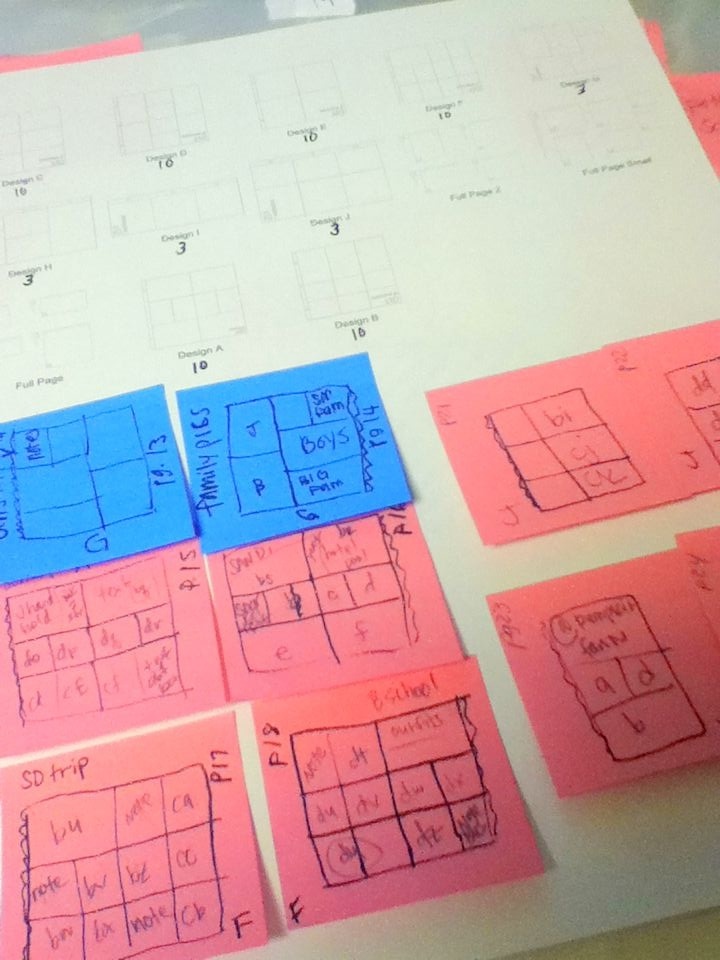
You could probably just work this way, having the layouts drawn out, but I liked seeing the size of the pockets with the real page protectors.
I’m so excited to pick up my pictures and get them all placed. Then I get to embellish everything…Yay!
Leave A Comment