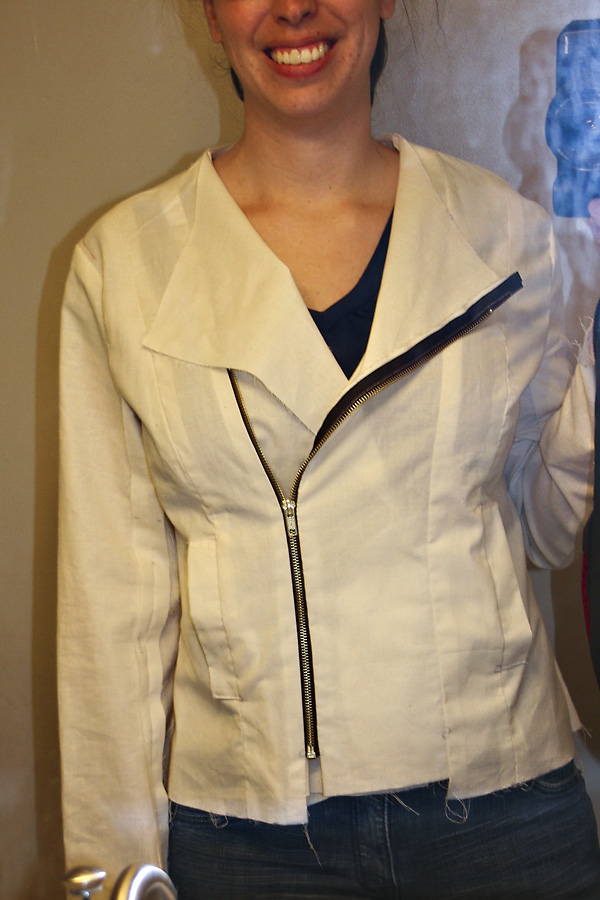
I’m using Butterick 6169 to make a faux-leather moto jacket!

I started with a size 16 since it is the closest to my measurements. My muslin fitting is done and I’ve learned quite a bit.
First off, the pattern is not kidding about the ease. Size 16 bust is 38″ but the pattern says the finished bust size will be 45″. Woah! It was huge! So much so that I ended up taking 4″ off the circumference at the side seams. I probably should have just gone down a size, or two.
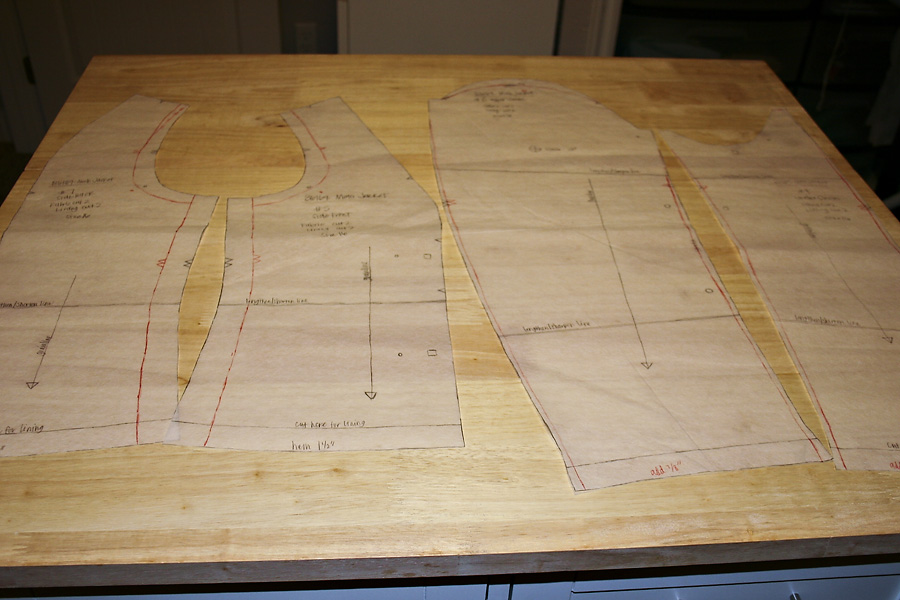
Once I took in the side seams, that also messed with the size of the armholes. So I tried two different fixes. On the first sleeve I took in the sleeve seams to match what I took off on the side seams…so a total of 2″. That resulted in a narrow sleeve (a bit too narrow) and while the sleeve cap did fit in the armhole, it was tight around my arm.
On the second sleeve I used the original pattern, lined up the stitching line (5/8″ in from the edge of the pattern) with the new seam line on the muslin (it was the same for the shoulder but 1″ in for each side piece. Then I traced the original armhole onto the new muslin. Finally, I also removed 1″ of ease from the sleeve cap itself. This left the sleeve cap with 1″ of ease (so it was 1″ bigger than the armhole opening). While it wasn’t too difficult to ease in the sleeve in the muslin fabric, I know that the leather will be less stretchy and didn’t want there to be puckers or gathers.
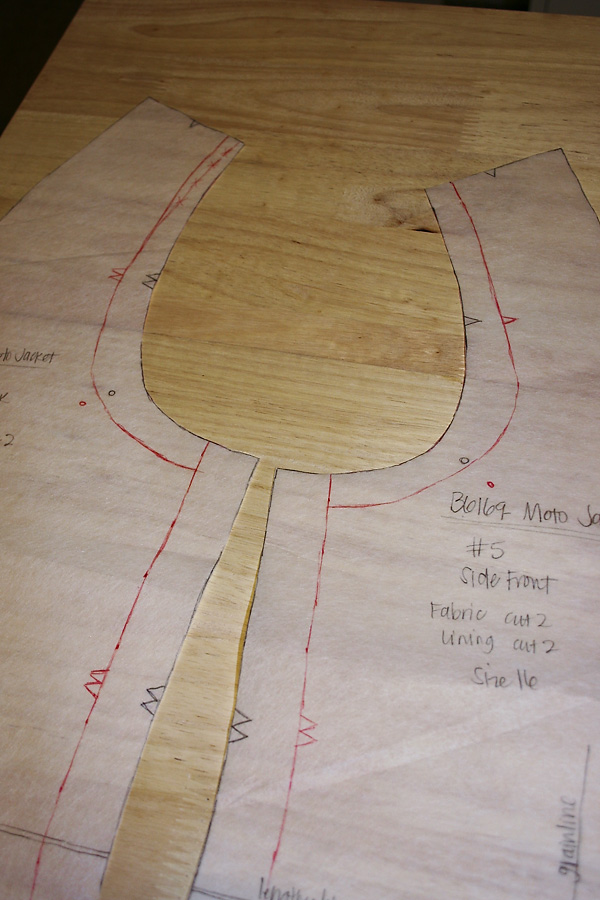
Finally, the last few changes I made to the pattern were moving the shoulder seam up by 1/4″ for better placement and added 7/8″ in length to the sleeve. I also decided to narrow the sleeve just a bit so I took in about 1/4″ on each edge (for a total of 1″ reduced). All these changes were then transferred to the pattern pieces.
From here it should be a pretty straight forward project since I’ve already solved all the fitting problems and worked through the construction process.
Next up, cutting the actual fabric!
Leave A Comment