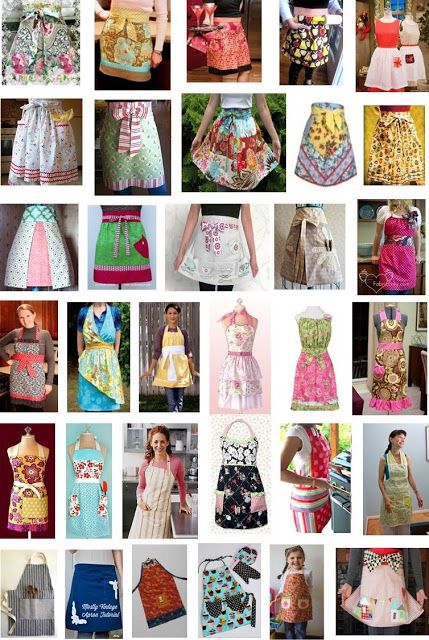
Okay, so here’s the idea…we each make an apron of whatever variety we want. When we are ready to share the finished pictures, we also share a recipe! Everyone wins! There are so many different types of aprons that I didn’t want to limit us to one type. Also, we can make as many as we’d like…to keep or share…anything goes!
How to Participate
- Make an apron, share a recipe. That’s it. We’ll be sharing our finished items on our Ravelry chatter board or you can also share in a comment on any apron-swap blog post.
- Feel free to post in the chatter thread on Ravelry. Tell us what you’re plans are, share your progress, ask questions, chatter away!
- If you’d like to add to the Pinterest inspiration board, let me know and I’ll add you as a contributor.
- Feel free to share your progress or finished aprons through social media using the hashtag: #eocApronSAL
- And, if you’d like to add the sew-along image from the top of the post to your own blog, use the following code:
<a href="https://equalopportunitycrafter.com/category/sewing/apron-sew-along"><img alt="" src="https://equalopportunitycrafter.com/wp-content/uploads/2014/07/eocApronSAL.jpg"></a>
First Style: Tea-Towel Apron
I thought I’d start off with an easy one. Just as it’s name implies, this one is made from a tea towel. Now, you could use a cute or fancy towel, one with a design, or just a solid one. This style is perfect for embellishing as well. You could add a ruffle (I’ll show you how!), or a pocket (I’ll show you that too!). You could applique a cute design on it, or paint, or embroider, or whatever! The options are limitless, and the base is easy.
So let’s get started…What you’ll need:
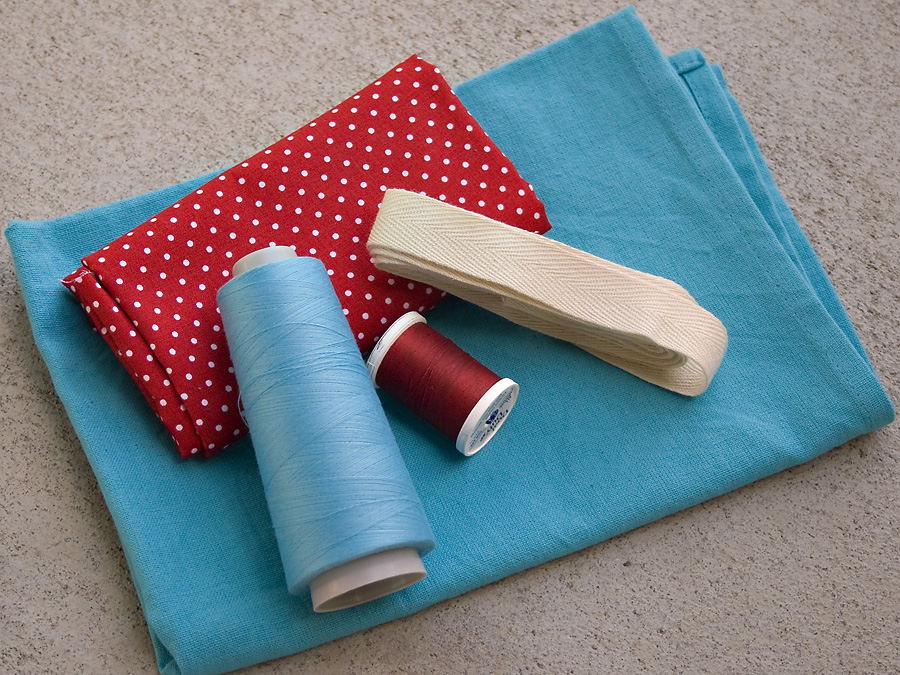
Supplies:
- A tea-towel. I purchased mine at a quilt shop. It’s 100% cotton and measures 20.5″ x 29″.
- 1/2 yard of coordinating or contrasting fabric. This will be for the pocket and ruffles.
- 3 yards of 3/4″ wide twill tape. You could also use ribbon. If you want it to tie around the front you may want to get an extra 1/2 yard or more.
- Thread. This could be coordinating or contrasting or both, your choice.
Tools:
- Cutting Utensil. I prefer using a rotary cutter and mat but scissors will work as well. You’ll want scissors anyway to snip threads.
- Sewing Machine.
- Ruffler foot – optional. I’ll share a tutorial on how to make ruffles with and without this scary looking presser foot.
- Pencil or Fabric Pen. You’ll need to mark your measurements on the fabric before cutting.
That’s it!
So, if you’d like to follow along gather up your supplies and get ready. I’ll post the first tutorial soon.
Leave A Comment